
Witajcie!
Kiedy w ogrodzie pojawiają się nieśmiało pierwsze przebiśniegi, to znak, że nadchodzi Wiosna. Po pierwszych przebiśniegach czekamy na żonkile i tulipany. Ale zanim zagoszczą na naszych rabatach, możemy cieszyć nimi oczy na grafikach ozdabiających np. tagi. Z taką wiosenną inspiracją przychodzi dziś nasza projektantka Dorota Streng. Dorota przygotowała kurs krok po kroku na tagi z pierwszymi wiosennymi kwiatami.
Hello Friends!
When the first snowdrops shyly appear in the garden, it is a sign that Spring is coming. After the first snowdrops we wait for daffodils and tulips. But before they appear in our flowerbeds, we can feast our eyes on prints decorating, for example, tags. With such a spring inspiration comes today our designer Dorota Streng. Dorota prepared step by step course for tags with first spring flowers.

Krok 1
Przygotowujemy bazę z papieru kraft 250g. Jako papier bazowy taga Dorota wybrała arkusz nr 6 z kolekcji Together Forever&SET.
Step 1
Prepare a base of 250g kraft paper. For the tag base paper, Dorota chose sheet #6 from the Together Forever&SET collection.

Krok 2
Po przycięciu papieru Dorota zabezpieczyła go przezroczystym gesso i wysuszyła. Postarzyła brzegi tuszem distress.
Step 2
After trimming the paper, Dorota protected it with clear gesso and dried it. She distressed the edges with distress ink.

Krok 3
Następnie przez szablon Dorota nałożyła pastę modelującą, a po jej wyschnięciu użyła rozwodnionego zielonego fluidu akrylowego, aby wydobyć wzór maski. Kiedy pasta wyschła, metodą suchego pędzla nałożyła białe gesso, a potem delikatnie podkreśliła ją złotym woskiem.
Step 3
Dorota then applied modeling paste through the stencil, and after it dried, she used watered-down green acrylic fluid to bring out the mask pattern. Once the paste was dry, she used the dry brush method to apply white gesso and then lightly highlighted it with gold wax.
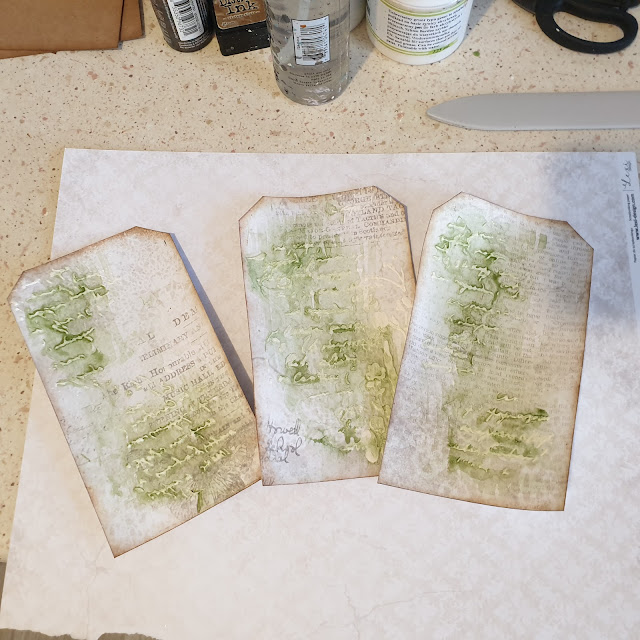
Krok 4
Czas na stworzenie kompozycji. Wykorzystano odlewy z foremki i koronki. Do przyklejenia elementów użyto taśmy dwustronnie klejącej i kosteczek dystansowych.
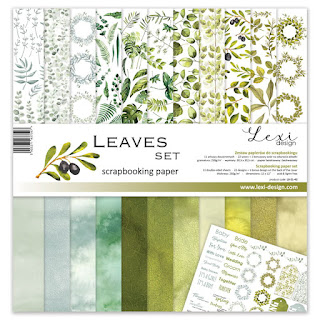
(Na zdjęciach widać tekturki, ale ostatecznie na tagach znalazły się cytaty z kolekcji Leaves SET).
Step 4
Time to create the composition. Mould castings and lace were used. Double-sided adhesive tape and spacer cubes were used to adhere the elements.
(You can see the chipboard in the photos, but in the end, the tags included quotes from the Leaves SET collection).


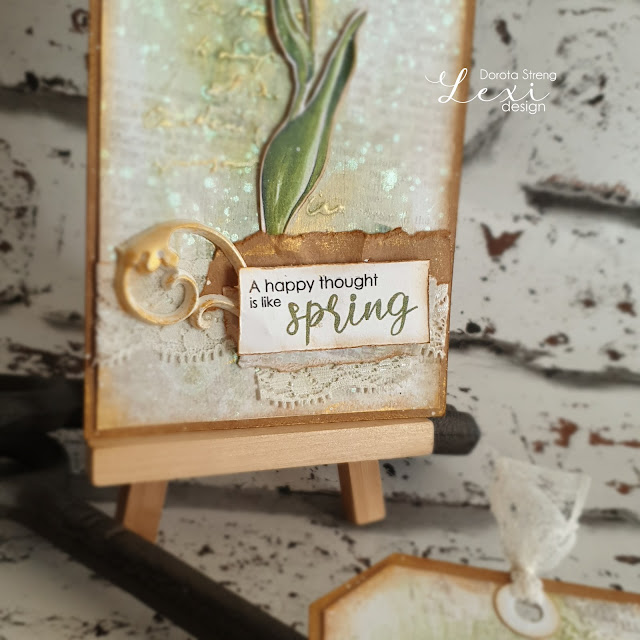
Krok 5
Po sklejeniu całości brzegi tagów delikatnie podkreślono woskami, Dla urozmaicenia tła wokół kwiatków zrobiono chlapania przy pomocy pełowego pigmentu i białej farbki akrylowej.
Step 5
After gluing the whole thing together, the edges of the tags were gently highlighted with waxes, To add variety to the background around the flowers, splashes were made using full pigment and white acrylic paint.
*******
Jak Wam się podobają takie wiosenne tagi? Jesteśmy pewni, że nastąpi teraz wysyp tulipanów i żonkili w Waszych pracach. Nie zapomnijcie pochwalić się nimi w naszej grupie inspiracyjnej na FB - Lexi Inspirations.
How do you like such spring tags? We are sure that there will now be a rash of tulips and daffodils in your works. Do not forget to share them in our inspiration group on FB - Lexi Inspirations.


Brak komentarzy:
Prześlij komentarz