Pokazywanie postów oznaczonych etykietą Beautiful Moments. Pokaż wszystkie posty

sobota, 13 sierpnia 2022

Ślubny zestaw
Wedding set

 Witajcie!

Stajecie czasem przed wyzwaniem, co przygotować jako podziękowanie
dla rodziców młodej pary? Narzeczeni najczęściej zdają się na Was,
jako twórczynie,a Wam pustka szumi w głowie? Oto kreatywne rozwiązanie
od naszej Pauliny MaloMalo, w dodatku doskonale wpisuje się w nurt zero waste,
czyli można i pięknie i ekologicznie!

"Cześć, dzisiaj mam dla Was ślubny secik w odcieniach oliwki i mięty.
Pierwotnie chciałam dziś pokazać tylko album ślubny w klimacie boho,
będący podziękowaniem dla rodziców Pary Młodej, ale w myśl polityki zero waste,
ze ścinków papierów po albumie powstały ślubne zawieszki, „płomyk i iskierki miłości”
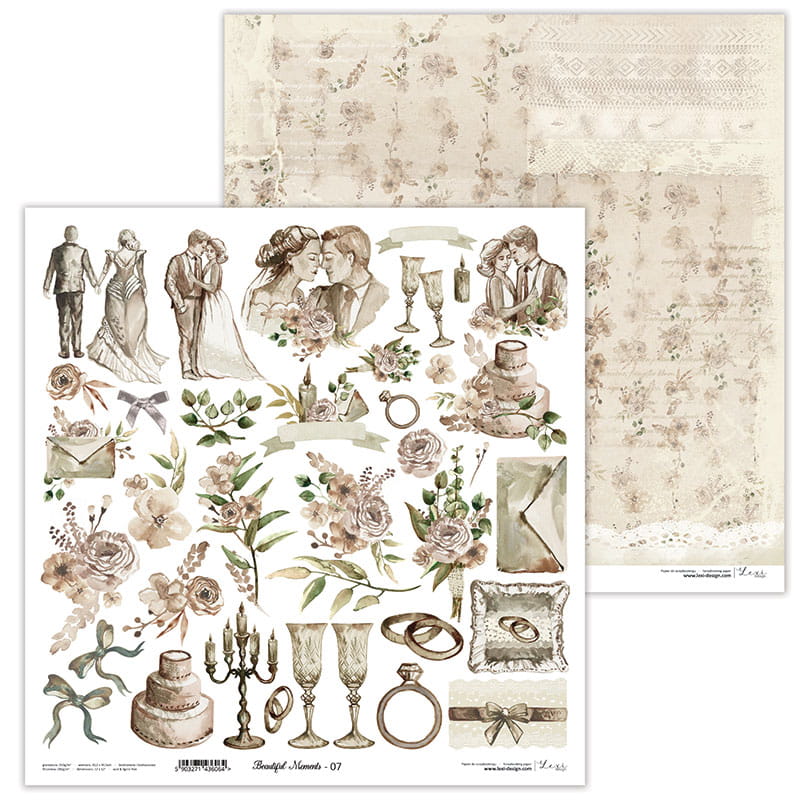
oraz pudełko na obrączki - a wszystko to z cudownej kolekcji 'Beautiful Moments'.
Album utrzymałam w klimacie 'eleganckiego boho' i wykorzystałam
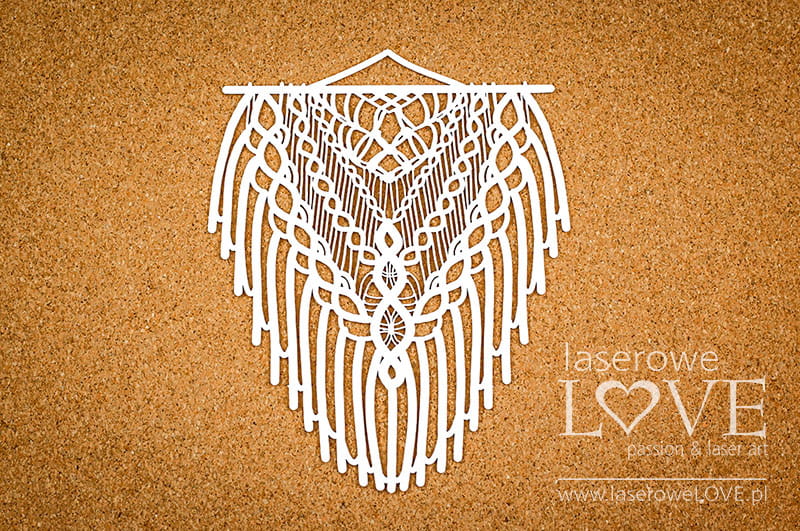
tekturkową dużą makramę jako główną część kompozycji albumu". 


Hello!

Sometimes you are faced with the challenge of what to prepare as a thank you

for the parents of a young couple?
The bride and groom most often rely on you,
as creators, and you have emptiness in your head?
Here's a creative solution
from our Paulina MaloMalo in addition, it fits perfectly into the zero waste trend,

that is, it is beautiful and ecological!
 

"Hello, today I have a wedding set for you in shades of olive and mint.
Originally, I wanted to show only a wedding album in a boho style today,
being a thank you to the parents of the Bride and Groom, but in line with
the zero waste policy,
from scraps of paper after the album, wedding pendants were
created, "a flame and sparks of love"
and a box for wedding rings - all from
the wonderful 'Beautiful Moments' collection.
I kept the album in an 'elegant boho'
atmosphere and used it
a large chipboard macrame as the main part
of the album composition ".


Paulina użyła: / Paulina used:


Po więcej inspiracji zapraszamy na Lexi Inspirations,
tam też masz możliwość pochwalenia się swoimi pracami!
 

For more inspiration, visit Lexi Inspirations,
where you can also show off your work!

piątek, 11 lutego 2022

Kartka z kolorowanym stemplem na Pierwszą Komunię Świętą - step by step
Card with a coloured stamp for the First Holy Communion - step by step

Witajcie!

Większość z nas myśli dopiero o Walentynkach, ewentualnie wybiega ku Dniu Kobiet. My dziś skierujemy Wasze spojrzenia na maj i uroczystości komunii. 

Wspólnie z naszą edukatorką Justyną Ti-Tinką zapraszamy Was na kurs na oryginalną kartkę komunijną krok po kroku. 

Hello!

Most of us are just thinking about Valentine's Day, or possibly looking ahead to Women's Day. Today we're going to turn your attention to May and the Communion celebrations. 

Together with our educator Justyna Ti-Tinka we invite you to our step by step course on how to make an original communion card.

Krok 1

Przygotowujemy bazę DL (10,5 x 21 cm)
Docinamy papiery na tło
Złoty 10 x 20,5 cm
Kolorowy 9,5 x 20 cm

Step 1

Prepare a DL base (10.5 x 21 cm)
Cut out the background papers
Gold 10 x 20.5 cm
Color 9.5 x 20 cm

Krok 2

Przy pomocy akrylowego bloczka odbijamy stempel na białym papierze (220-250 g), najlepiej czarnym wodoodpornym tuszem.

Step 2

Using an acrylic block, stamp on white paper (220-250g), preferably with black waterproof ink.

Krok 3

Kolorujemy stempel flamastrami do kolorowania (lub jak wolicie, farbami lub kredkami akwarelowymi)

Step 3

Colour the stamp with colouring markers (or, if you prefer, with paints or watercolour pencils)

Krok 4

Wycinamy pokolorowany stempel – używamy wykrojnika ramki – mniejszego.
Większym wykrojnikiem wycinamy ramkę ze złotego lustrzanego papieru.

Step 4

Cut out the coloured stamp - use the smaller frame die.
Use the larger punch to cut out a frame from the gold mirror paper.

Krok 5

Sklejamy ze sobą warstwy tła (baza, złoty papier, papier Beautiful Moments 10)

Step 5

Glue the background layers together (base, gold paper, Beautiful Moments 10 paper)

Krok 6

Naklejamy złotą ramkę i ramkę ze stemplem na tło kartki używając kostek dystansujących.

Step 6

Glue the gold frame and the frame with the stamp onto the background of the card using spacers.

Krok 7

Przy pomocy wykrojników wycinamy liście winorośli (w tym przypadku z papieru Pumpkin Seed 04 od Lexi Design) i gronka ze złotego papieru.

Step 7

Using the die-cutters, cut out the vine leaves (in this case from the Pumpkin Seed 04 paper from Lexi Design) and the grapes from the gold paper.

Krok 8

Drukujemy napis na kalce technicznej i wycinamy go do odpowiadającego nam rozmiaru (w tym przypadku 6 x 3 cm).

Step 8

Print the inscription on tracing paper and cut it out to the size you need (in this case 6 x 3 cm).

Krok 9

Naklejamy napis na kartkę. Jeśli użyliśmy kalki technicznej i nie chcemy, żeby było widać miejsce klejenia, to mocno przyklejamy z tej strony, z której będzie umieszczona kompozycja, a z drugiej strony możemy zostawić nie przyklejone, lub jeśli tak jak Justyna chcecie, żeby przypadkiem nic się nie uszkodziło, podklejamy maleńkimi kawałkami kostek dystansujących (ok 2 x 2 mm).

Step 9

Glue the inscription onto the card. If you have used tracing paper and do not want the gluing to be visible, glue firmly on the side where the composition will be placed, and the other side can be left unglued, or if, like Justyna, you do not want to accidentally damage anything, stick with tiny pieces of spacer cubes (about 2 x 2 mm).

Krok 10

Z paska Beautifull Moments 04 wycinamy kielich
Z kielicha oraz wyciętych liści i gron winorośli układamy kompozycję.
Jedną część kompozycji umieściłam w prawej dolnej części stempla, a drugą z lewej strony napisu.

Step 10

Cut a cup from the Beautifull Moments 04 strip
From the chalice and the cut vine leaves and clusters arrange the composition
I placed one part of the composition in the lower right part of the stamp and the other to the left of the inscription


Krok 11

Ozdabiamy pracę złotymi kryształkami.
Jeśli podklejaliście kalkę to kryształki naklejcie tak, żeby zasłonić kosteczki dystansujące.
Mamy nadzieję, że tutorial na kartkę Wam się podobał i już niebawem stworzycie swoje kartki na Pierwszą Komunię Świętą. Koniecznie pokażcie nam efekty Waszej pracy.

Step 11

Decorate your work with gold crystals
If you used tracing paper then stick the crystals on to cover the spacers.
We hope you enjoyed this card making tutorial and that you will soon be creating your First Communion cards. Be sure to show us the results of your work.


Produkty, których użyła Justyna:


Biały papier A4 na bazę (220-250g) lub gotową bazę do kartki DL
Złoty papier lustrzany
Tusz do stempli 
Klej
Kostki dystansujące
Flamastry do kolorowania stempli
Nożyczki
Wykrojniki (2 owalne rameczki, winorośl liście + grona, 1 ramka prostokątna) 
Kryształki samoprzylepne
Kalka techniczna lub gotowy napis 

Products used by Justyna:


Rubber Stamp - Boy with Jesus

Stamp pad

White A4 paper for a base (220-250g) or a ready base for a DL card
Gold mirror paper
Stamping ink 
Glue
Spacer blocks
Markers to color the stamps
Scissors
Die-cutters (2 oval frames, vine leaves + clusters, 1 rectangular frame) 
Self-adhesive crystals
Tracing paper or ready-made lettering 

poniedziałek, 31 stycznia 2022

Love is in the air - kartki na Walentynki
Love is in the air - Valentine's Day Cards

Witajcie!

Walentynki - święto zakochanych coraz bliżej. Love is in the air - nucimy sobie słowa Johna Paula Younga. Ale jeśli śpiew to według nas za mało? Albo głos jednak ma zbyt mało oktaw? ;) Zawsze sprawdza się ofiarowanie kartki walentynkowej, by wyrazić swoją miłość. Kolekcje papierów Lexi Design pozwalają wyczarować prace w różnych stylach. 

Nasza projektantka Tatiana Yasinskaya proponuje sięgnąć po papiery z kolekcji Beautiful Moments i stworzyć kartki walentynkowe utrzymane w klimacie vintage. Zwróćcie uwagę, jaki efekt daje przeszycie papieru na maszynie do szycia. Wszystkie warstwy i dodatki nadały kartkom subtelności i romantyzmu. Z kolekcją Beautiful Moments przepis na Walentynkę idealną jest gotowy ❤

Hello Friends!

Valentine's Day - the holiday of lovers is getting closer. Love is in the air - we hum to ourselves the words of John Paul Young. But if singing is not enough for us? Or the voice has too few octaves? ;) It always works to give a Valentine's Day card to express your love. Lexi Design's paper collections allow you to conjure up cards in a variety of styles. 

Our designer Tatiana Yasinskaya suggests reaching for papers from the Beautiful Moments collection and creating vintage-style Valentine's Day cards. Note the effect of stitching the paper on a sewing machine. All the layers and accessories add subtlety and romance to the cards. With the Beautiful Moments collection, the recipe for the perfect Valentine's Day is ready❤


Tatiana użyła / Tatiana used:


niedziela, 3 października 2021

Eksplodujące pudełka na komunię
Exploding boxes for the first communion

Cześć, cześć!
W tym roku tutaj na Słowacji mamy komunie i bierzmowania również we wrześniu i październiku. Dlatego jestem bardzo zajęta tworzeniem pudełek, które będą prezentami na te specjalne okazje.
Dużo pracuję z papierami Lexi Design i wykorzystałam niesamowite kolekcje (Beautiful Moments i Winter Tales) do stworzenia tych eksplodujących pudełek. Mam nadzieję, że Ci się spodobają.

Hello, hello!
This year here in Slovakia we have first communions and confirmations also in September and October. So I am very busy creating boxes which will be given as gifts to these special ocassions. 
I work with Lexi Design papers a lot and I used amazing collections (Beautiful Moments and WInter Tales) for making these exploding boxes. I hope, you will like them.


Użyłam: / I used:


Miłego kreatywnego dnia! / Have a nice creative day!