


Krok 1
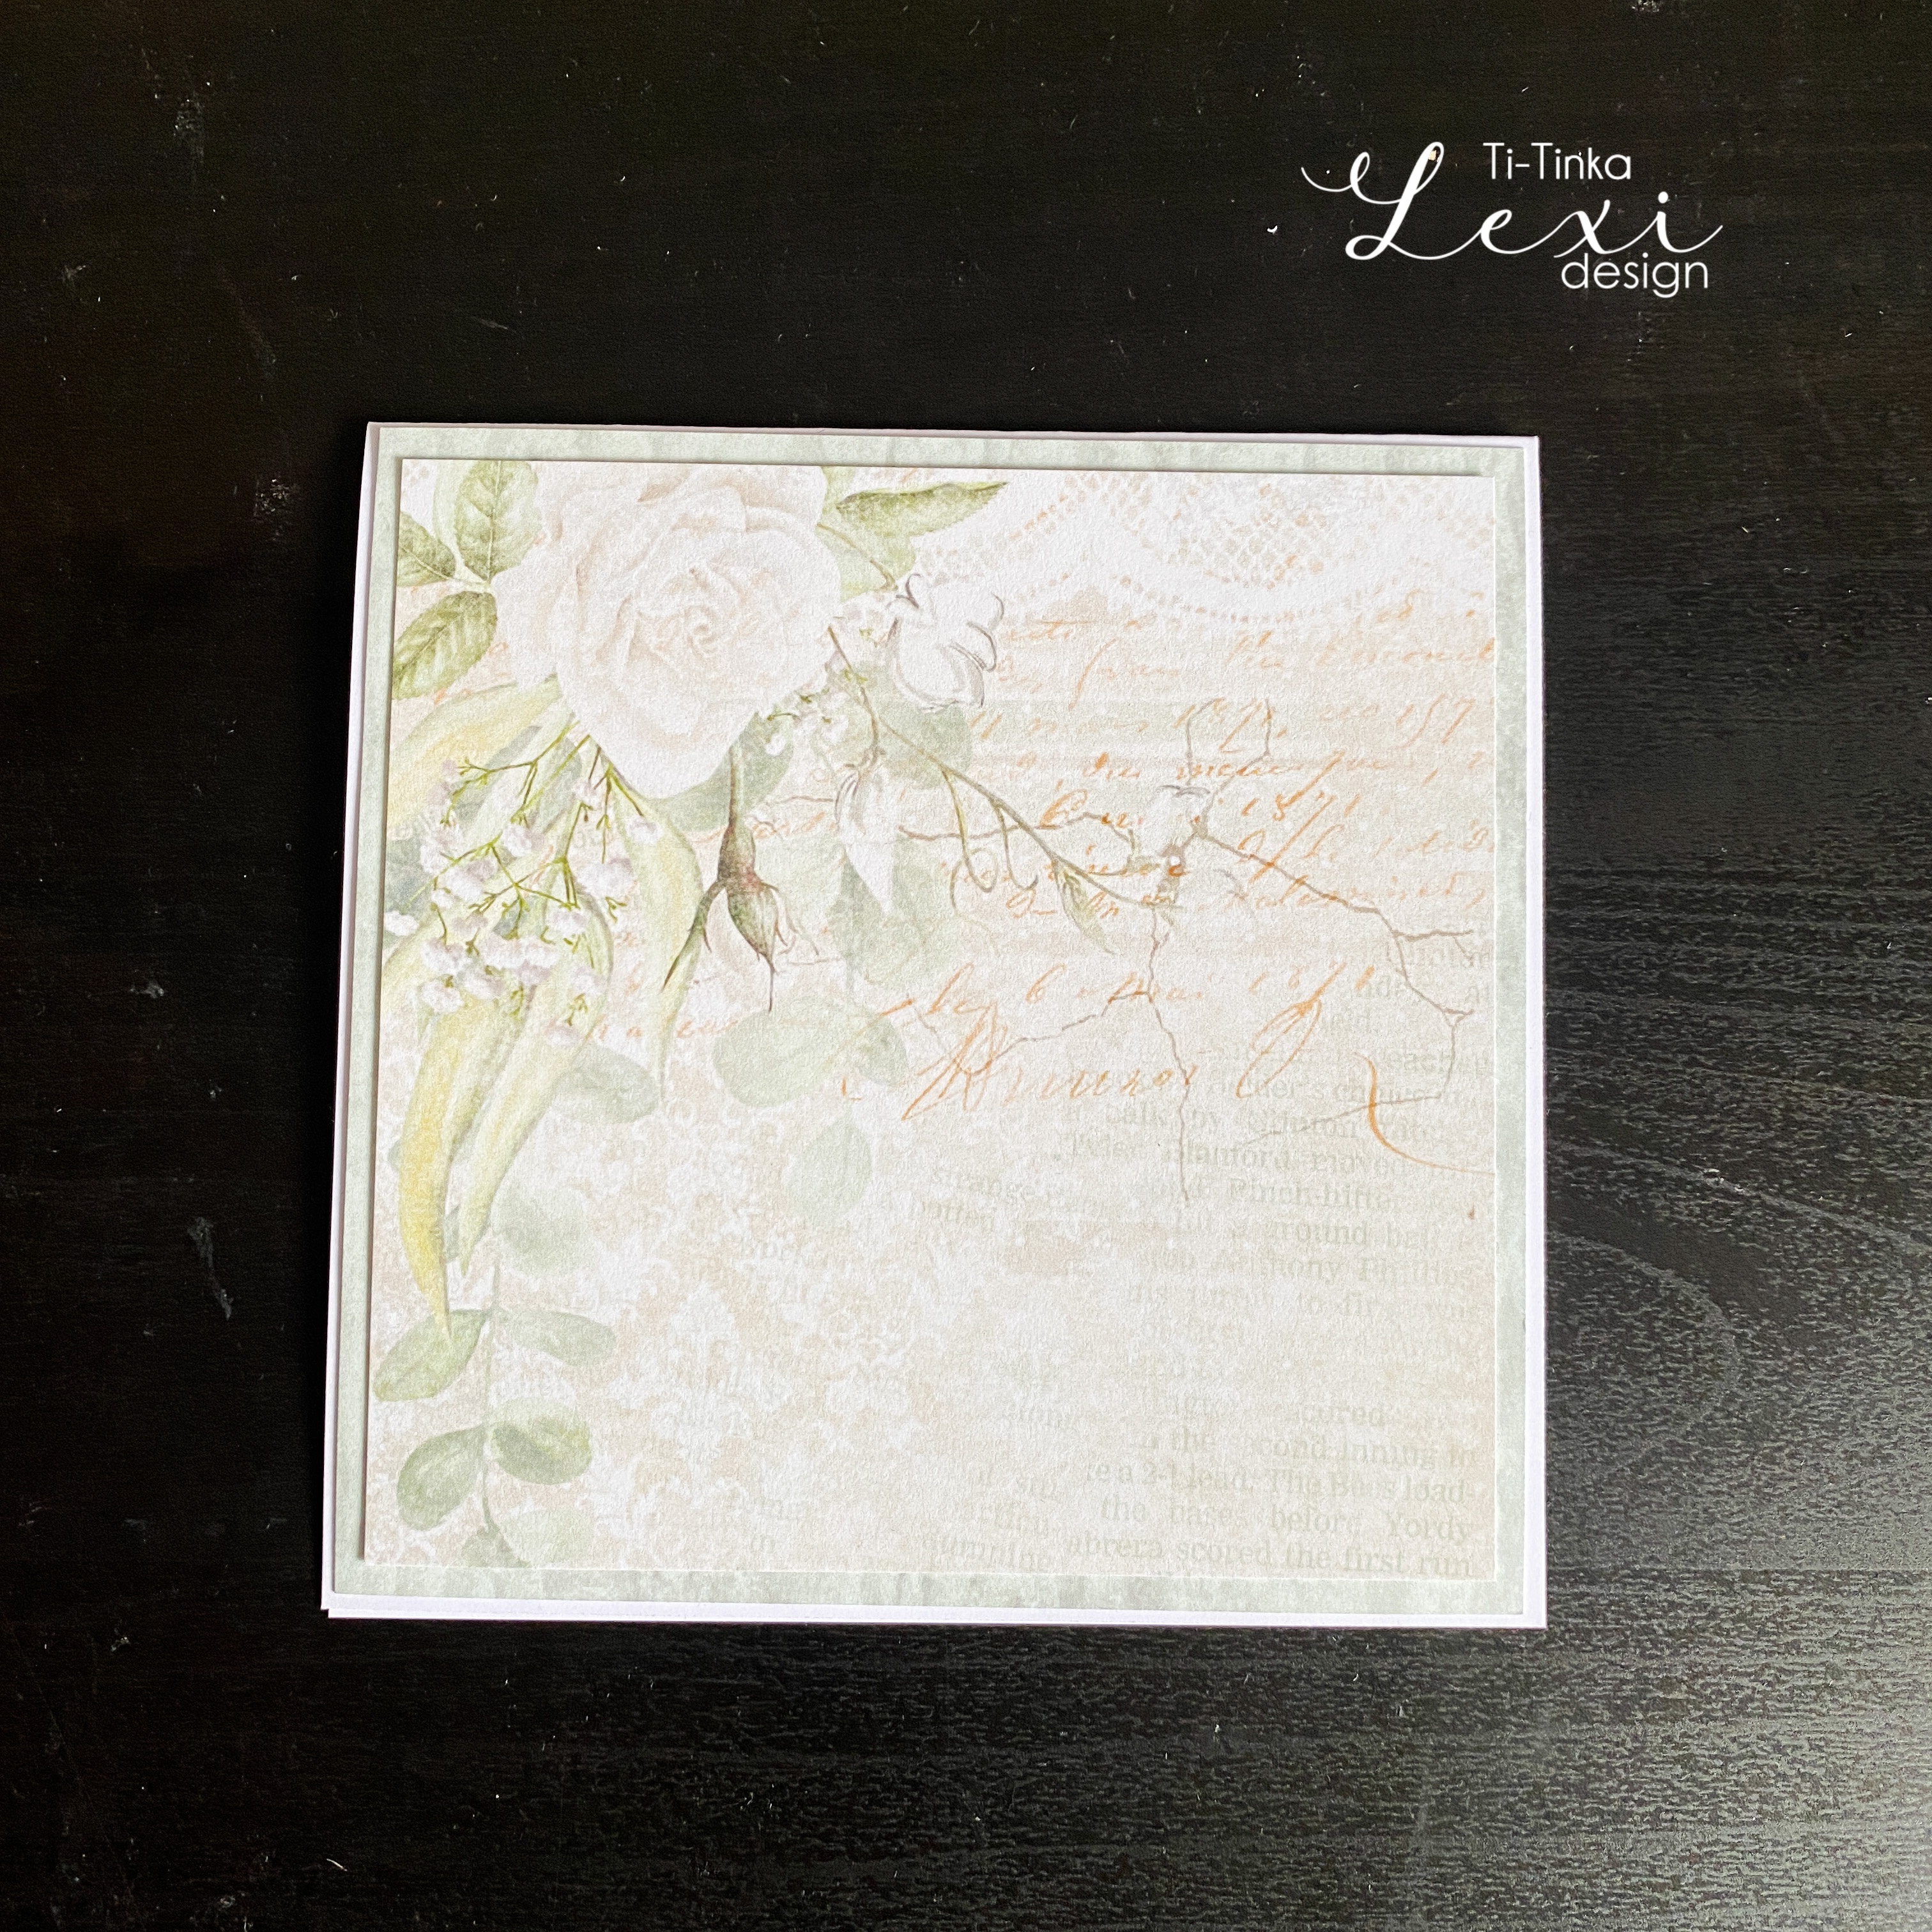
Przygotowujemy bazę kartki, papiery na tło, elementy do wycinania i ozdobienia. Docinamy papiery na tło
Baza 13x 13 cm
Papier Forever Together 01 12,5x12,5 cm
Papier Forever Together 05 12x12 cm
Step 1 Prepare the card base, background papers, elements to cut out and decorate. Cut out papers for the background Base 13x 13 cm Paper Forever Together 01 12,5x12,5 cm Paper Forever Together 05 12x12 cm


Krok 2
Sklejamy bazę i tło
Step 2 Glue the base and background together

Krok 3
Z kalki technicznej wycinamy “serwetkę” przy pomocy wykrojnika (lub jeśli nie mamy wykrojników po prostu koło)
Step 3 Cut a "doily" out of tracing paper using a die cutter (or if you don't have die cutters just a circle)

Krok 4
Na kalce odbijamy stemple kwiatów i środków przy pomocy tuszu do embossingu, oraz tuszujemy wybraną tekturkę.
Step 4 On tracing paper, stamp the flowers and centers using embossing ink, and ink the chipboard of your choice.


Krok 5
Posypujemy odbite stemple i potuszowaną tekturkę pudrem do embossingu. Nadmiar pudru zsypujemy do pojemniczka.


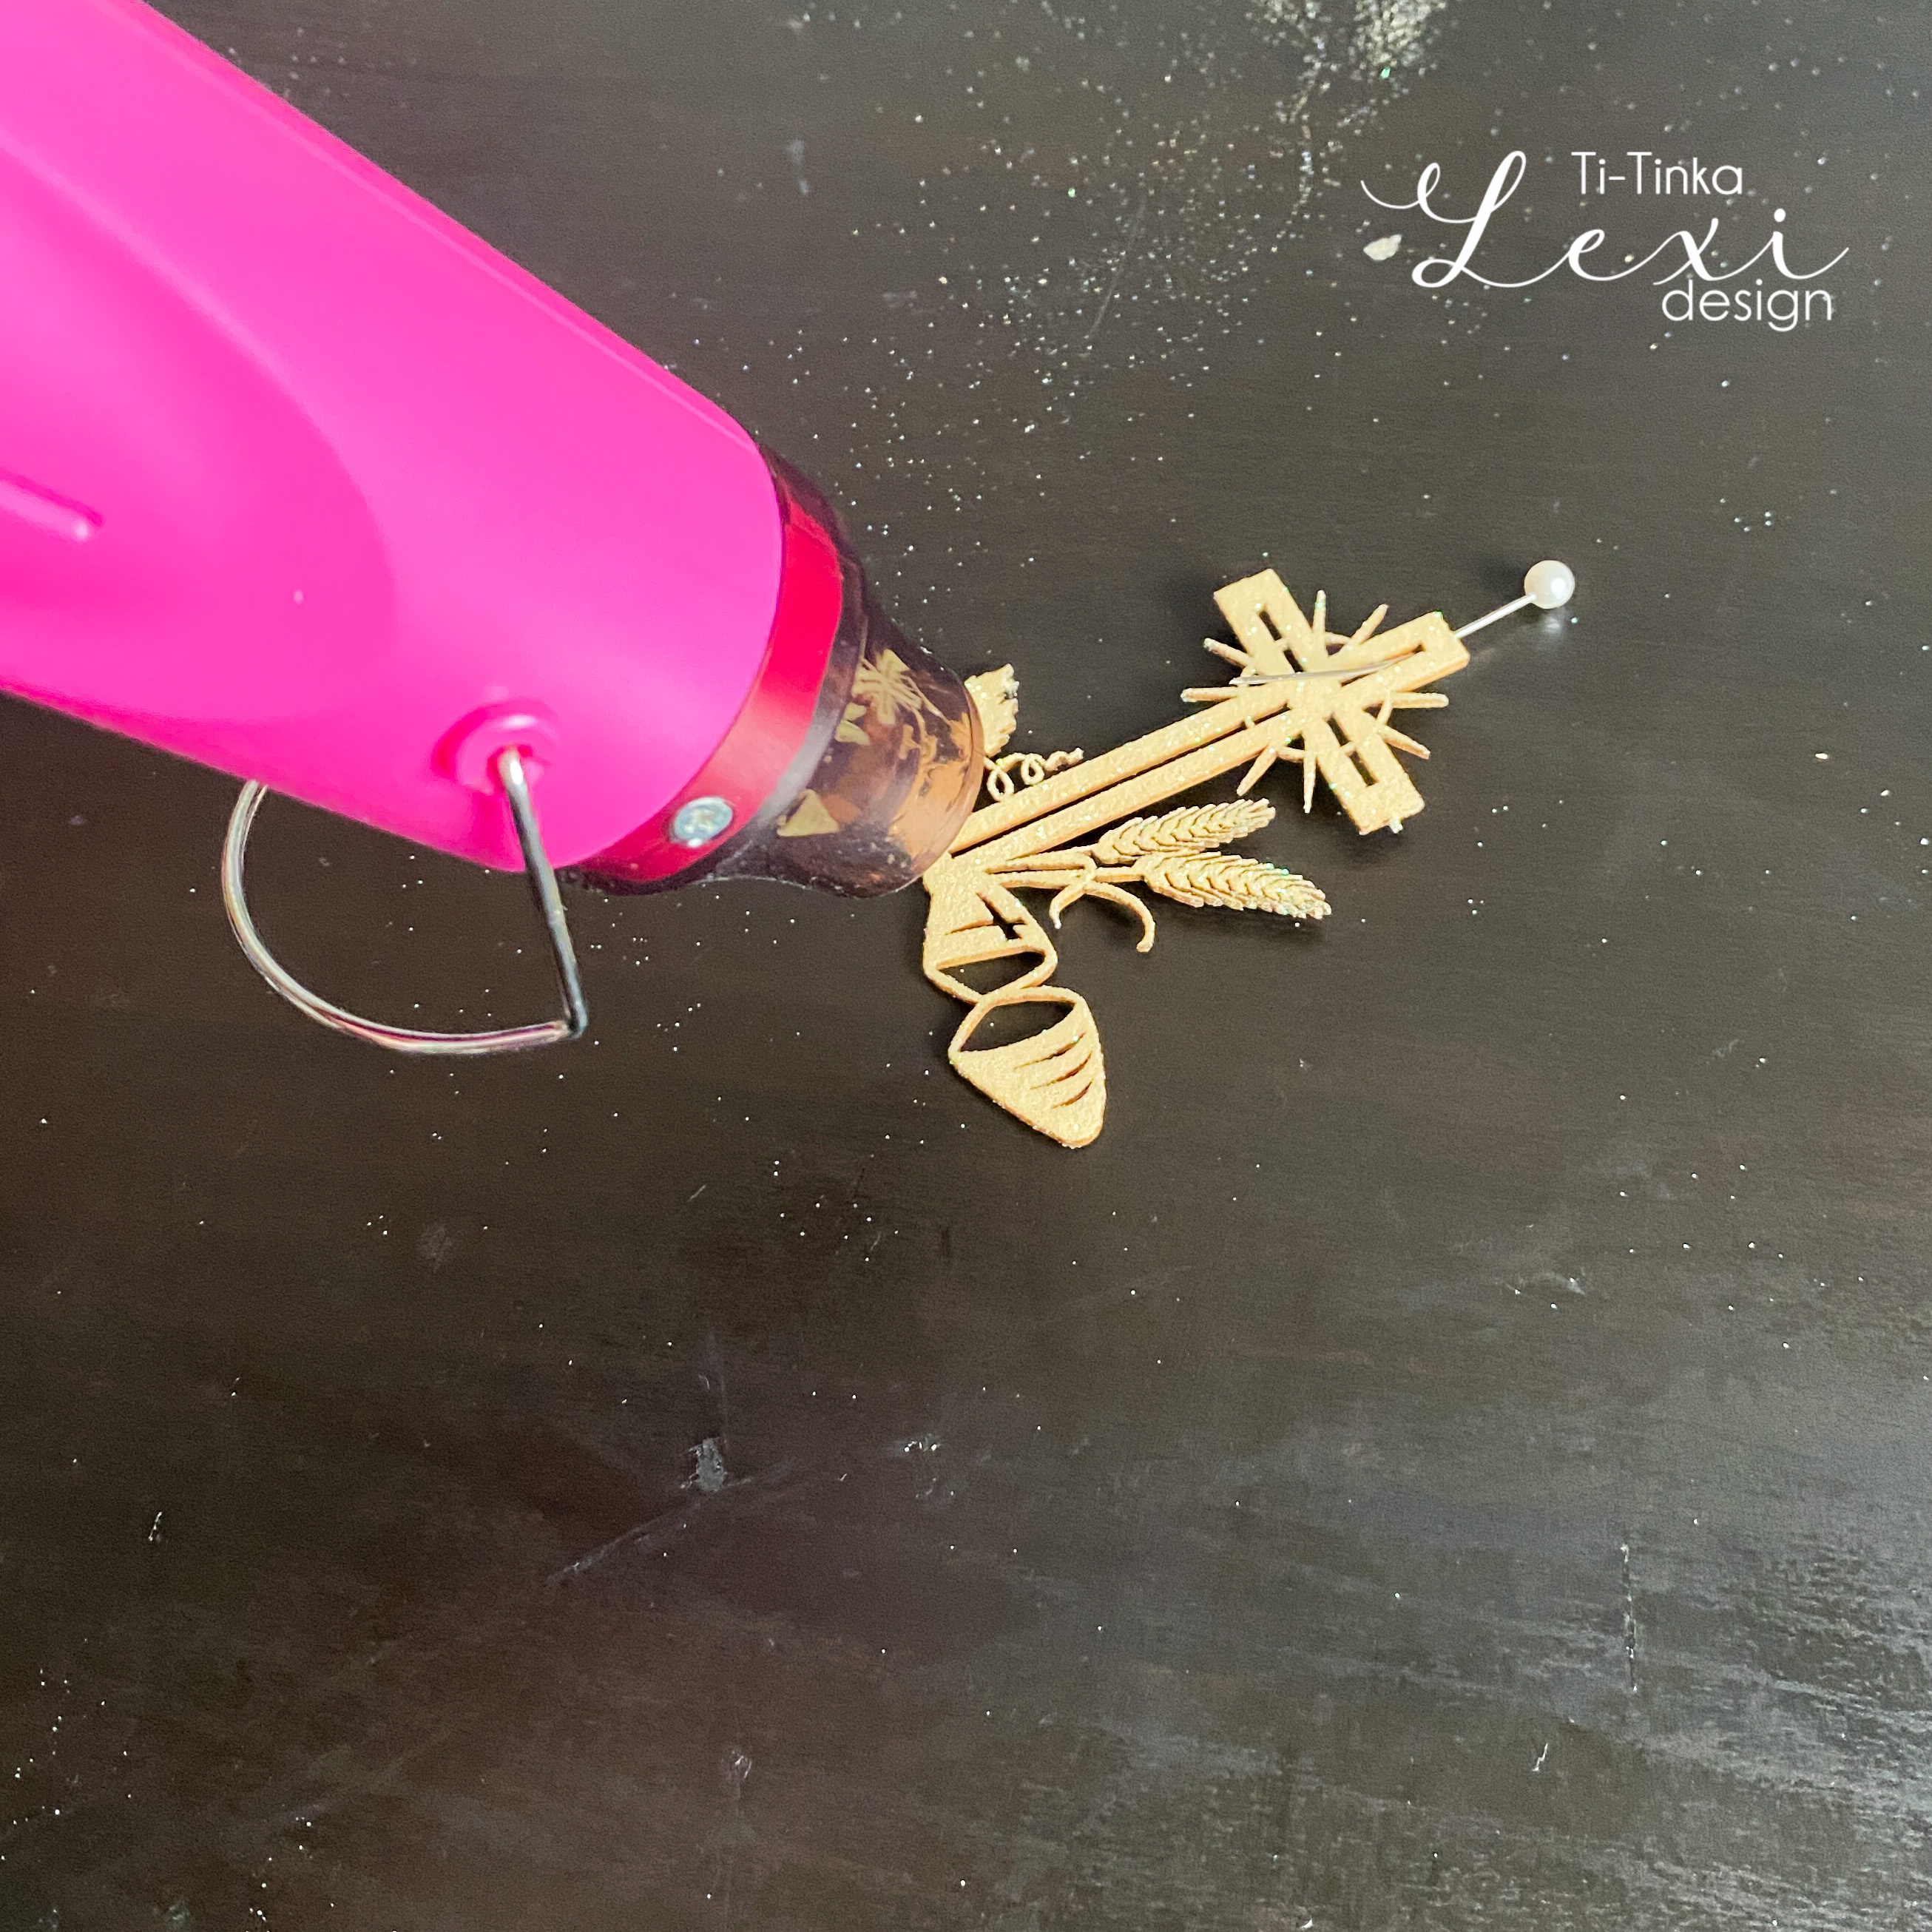
Krok 6
Ogrzewamy posypane pudrem stemple i tekturkę. Czekamy aż puder się ładnie roztopi, ale staramy się nie przegrzać i nie przypalić. Nie martwcie się jeśli kalka będzie się lekko falować.
Step 6 Heat the sprinkled powdered stamps and chipboard. Wait until the powder melts nicely, but try not to overheat or burn. Don't worry if the tracing paper ripples slightly.

Krok 7
Wycinamy kwiaty z kalki.
Step 7 Cut out the flowers from the tracing paper.

Krok 8
Naklejamy tekturkę na serwetkę z kalki i na przygotowaną bazę. Używamy kostek dystansujących, naklejamy w najgrubszych miejscach tekturki, oraz na kalce pod tekturką, żeby nasza praca wyglądała lekko i estetycznie.
Step 8 Glue the chipboard onto the tracing paper doily and onto the prepared base. Using spacers, glue in the thickest areas of the chipboard, and on the tracing paper under the chipboard, so that our work looks light and aesthetically pleasing.


Krok 9
Sklejamy klejem na gorąco kwiaty i środki i naklejamy je na kartkę.
Step 9 Use hot glue to glue the flowers and centers together and stick them on the card.

Krok 10
Uzupełniamy kompozycję listeczkami wyciętymi z Papierów Forever Together 02 i 08.
Step 10 Complement the composition with leaves cut from Forever Together 02 and 08 papers.

Kartka jest gotowa. Mamy nadzieję, że tutorial Wam się podoba i już niebawem zachwycicie nas swoimi komunijnymi pracami w delikatnym stylu.
The card is ready. We hope that you like the tutorial and soon you will delight us with your communion works in a delicate style.


- Kolekcja papierów Together Forever

- Kalka techniczna
- Biała baza 13x13 cm
- Stemple kwiaty i środki
- Tusz do embossingu
- Puder do embossingu (kremowy)
- Bloczek do stempli
- Tekturka z motywem komunijnym
- Nożyczki
- Nagrzewnica
- Wykrojnik serwetka
- Together Forever collection of papers

- Tracing paper
- White base 13x13 cm
- Stamps flowers and measures
- Embossing ink
- Embossing powder (cream)
- Stamping block:
- Chipboard with a communion theme
- Magic glue and hot glue
- Scissors
- Heater
- Doily die-cut
Brak komentarzy:
Prześlij komentarz